How to Clean Your Closet – The Right Way
We’ve all been there. Inevitably, the start of the workweek creeps upon you, and your weekend is just hours from being over. You had made plans last weekend to clean out your closet, but you spent no time getting things done. Now the morning of your workweek is here, and you can’t find anything to wear without digging through utter madness.
What you need is not motivation, my friend. You need discipline! You need an outline that’s easy to understand and easy to master. Your intentions, while they may be true, are overwritten by the universal human desire to get things done ‘quick and easy.’
So, you ask, how can my closet ever get cleaned – and stay cleaned – without constant work? Well, the answer is simple. You can’t. What you can do is work smart, not hard.
Here are five tips I’ve learned over the years of owning a tailoring shop about how to keep a clean closet without overloading your day-to-day life.
Who likes to always clean, anyway? You will, after this!
1 – Get Yourself A Solid Outline
A useful outline is one that gives you actionable and exciting steps to achieve your goal. Remember, we’re creatures of habit, and quickly get distracted. Especially now when alerts relentlessly come through on our smartwatches and wireless earbuds.
We’ve found the most natural option for our clients is to have a simple outline of what they want to get done and then develop methods of attack. We have received fantastic feedback about how our clients have finally achieved a clean and organized closet using our outline.
You can make your own through any program that lets you type in it. The most important things to keep in mind are listed below.
- How do I want my closet to look?
- What clothing do I want to keep?
- What clothing do I want to donate?
- What clothing needs repairs?
- What clothing needs replacement?
- What storage items can help me most?
You’ll notice that we don’t list a ‘throw-away’ section, because, for the sake of conservation, we prefer to repurpose fabrics for use in the future. One way you can help your local tailor out is to bring in a pair of worn-out denim jeans or a ratty shirt (please wash them first!) and donate to their patch collection. Your donation may even warrant a discount for future alterations because the tailor then doesn’t have to buy material to patch pieces in the future.
If your tailor doesn’t need these items, only then should you consider trashing them.
2 – Envision Your Goals
It’s easy to say you want to do something, but it’s much more challenging to do it unless you have an idea of what that something achieves.
Open your closet doors, take a long hard look at what you see, and then imagine what you’d want it to look like when you’re finished. Is that a beautiful picture in your head? Awesome. Remember it!
For example, in my closet, I like to have all matching hangers, a tie rack, and a shoe cubby. Another example is my wife, who stores all of her off-season garments in vacuum-sealed bags stored on a shelf. Let your closet be yours and then lock that in your head. The next few steps will help you achieve that.
3 – Audit Your Clothing
We amass so many pieces of clothing throughout our lives that it’s hard to say goodbye sometimes. But remember, you’re going to clean and concise, right? It’s time to pull everything off of their hangers, lay them on your bed and empty your closet. Doing this will help you with step two.
Now that everything is out of your closet, it’s time to try on everything. Yes, you heard us. Try. It. All. On. How can you know what fits, what doesn’t, what needs repair, and what needs to be donated?
When finished, you’ll know what you want to keep, alter, or replace.
So, grab a mirror and get to it!
Now that the hard part is over put everything you want to keep on hangers and itemize them neatly from left to right. We like to start with longer items on the left and then shorter as you progress to the right. Doing this allows you to keep low hanging garments away from the middle of the closet so you can leave more room for your (hopefully) growing shoe collection.
Then pile everything that’s going to your local tailor for alterations or repairs in one pile, the items you want to replace in another, and the donations in another. Don’t feel bad if you pile your contributions into a garbage bag. It makes it a lot more efficient to carry around. Just be sure to keep your garbage bag and reuse it for actual garbage later on!
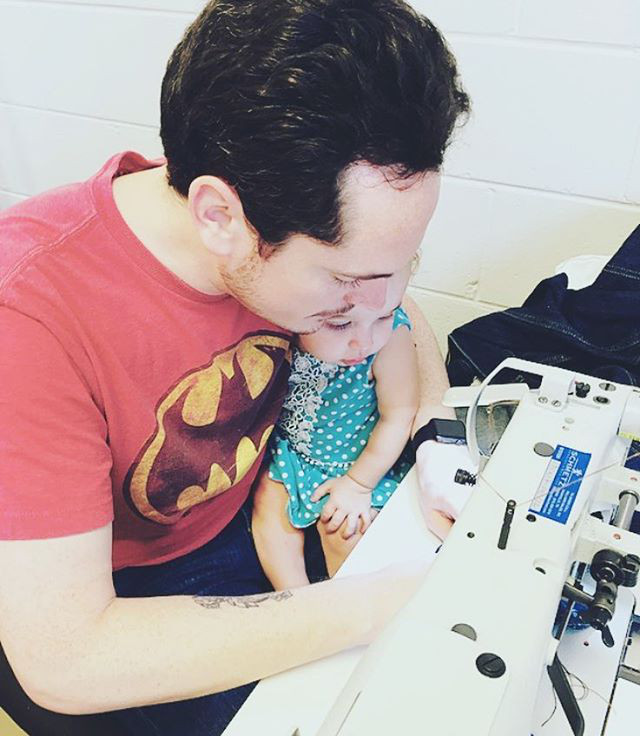
4 – Find a Reputable Tailor & Donation Spot
We’re living in a time where it’s increasingly easy to find good businesses that you can trust. Reviews sites exist in all corners of the internet, and a company that isn’t treating its customers right will have their doors shuttered as customers pass them up for higher star ratings.
Give a quick Google search and search for reputable tailors. Read the reviews they have and choose the highest-rated and closest to you. It’s important to continue going to this tailor if you have a great experience because, over time, they’ll get to know your nuances and personal likes and dislikes. Ensuring you have a great relationship with your tailor will pay dividends in the future as your trust in them increases.
The same goes for donation spots for clothing. There are many non-profit places to drop clothing you no longer want, so picking from highly ranked and transparent organizations is much easier thanks to accountability websites like this.
5 – Storage Bins and Other Necessities
We can’t stress the use of storage bins enough. Whether you get cloth, plastic, wooden, or metal ones, they’re an absolute necessity. All of your random knick-knacks and things that you can’t hang are perfect to place in bins like these. I store my off-season shoes in containers and stack them on my closet shelf. When their season comes, I pull them out, integrate them into my wardrobe, and slowly put away the past season pieces.
Another handy item is cedar planks. In our most recent podcast called ‘Button Your Cuffs,’ Charles and I spoke briefly about them. They help to prevent moths from wanting to inhabit your new wardrobe haven and have a clean, refreshing smell. Whether you have custom suits or a collection of cashmere goods, cedar planks are a must-have.
Tie racks, tie hangers or tie bins are next up on our list. Some people swear by hanging their ties while others prefer to lay them flat. Personally? I roll my neckties. I don’t like gravity getting the best of them, and placing them flat takes up a lot of precious closet real-estate. As a tie maker, I know what necktie interlining looks and feels like, and you don’t want to hang your ties – trust me. When making a necktie, you must cut interlining on the bias, which means it has a lot of motion. Also, if it weren’t, you wouldn’t have a beautiful knot! Bow ties are much easier to care for and require less thought. Just make sure the bow isn’t crushed and place them in a bin neatly together.
During our podcast about ‘What’s In Your Closet?‘, we covered the need for hangers and their specific use for each garment you own. Here’s a bulleted list of the hangers you need and why:
- Suit and Coat Hangers
Higher-quality suit hangers designed to match your specific shoulder width are available almost everywhere you can buy closet supplies. In luxury hangers, you can even get them to match your shoulder angle and width. When purchasing any hanger for your suit, always make sure you’re checking its width vs. your shoulder width. A suit hanger also has a bar across the bottom that you can drape your trousers on. See ‘Pant Hangers’ below for other options. Coat hangers are the same as suit hangers, but without the bar across the bottom.
Each of our custom suits and coats that we make come with a hanger that matches your shoulder width as closely as possible.
- Pant Hangers
There are three common styles of hangers for your pants. One is the standard bar that you drape your pants over around the knee. The other is a clip hanger that generally clips at your waistband. Last (and my personal favorite) is the hem clamp style. These typically have felted clamps that are the same or larger width than your hem opening when folded. They let the weight of your trousers hang down and pull wrinkles out naturally. One less trip to the dry cleaner is OK by me!
- Shirt Hangers
Shirts require much less care when hanging. There are velvet types, clear plastic, and metal styles with which to choose. Our recommendation is to use metal when you must, plastic when you can, and felted ones only when that felt matches the color of your shirt. For example, a white shirt hung on a black felt hanger is a no-go unless you like lint rolling regularly.
- Suit Brushes
Don’t you love going to the dry cleaner and paying for your suit to be cleaned and pressed, then when you put it on next, you see how badly the lapel looks? Dry cleaners usually do not hand press suit jackets, and instead, use an expensive and efficient pressing system that gets each side of your coat wrinkle-free in record time. As someone that regularly and complimentarily sponges garments for our bespoke clients, it takes a minimum of thirty minutes to press a coat properly. Dry cleaners do not have that much time. Otherwise, your bill would be much higher!
But dry cleaning is necessary to get your coat clean, right? Not at all!
A quality suit brush and a few moments of your time can lead to a suit lasting generations. Remember, wool is a natural fiber and decomposes over time. To stop that decomposing from happening at an accelerated rate, you can brush your suits to remove shed skin cells, food particles, animal hair, and all the other nasty stuff that you usually take them to the dry cleaners to remove.
Your suit interfacing will last longer, and so will your cloth, which leads to your investment truly showing a lifetime of return.
Conclusion
Step back and look at what you’ve accomplished. Pretty awesome, right?
Now that we’ve finished your closet reorganization and it’s clean as can be, make sure to hang your clothes, brush your coats, roll your neckties, and sweep the floor! Oh, and if your suit comes with a cloth garment bag, be sure to put it inside if you don’t intend to wear it for a while. Just make sure to air it out a little bit before you do. Otherwise, you’ll trap bad smells in there with it. Have a suggestion to make this list better? Leave a comment! We love to hear from you. You can also send us an email for personalized advice on your wardrobe. If you’re in the Nashville and surrounding area, we can even do this for you!
Ready for professional assistance? Click here to be directed to our contact page.